 PluBIM Help

DataSync
Export schedules to Excel and import edited data back into Revit.
- Ribbon group
- Data
- Version
- PluBIM 1.5.0
DataSync exports schedules to Excel. Values changed there can be imported back into the model.
When to use it
| You want to … | How |
|---|---|
| Change values of many elements in Excel and write them back to the model | Export without Save Formatting, change in Excel, then import |
| Pass on schedules as an Excel file | Export with Save Formatting |
| Export the same schedules again and again | Create a selection set |
| Bring an Excel table into the model as a view | Use TableSync |
Requirements
- The model contains schedules with the parameters you need.
- For importing: an Excel file exported with DataSync without Save Formatting.
The DataSync window
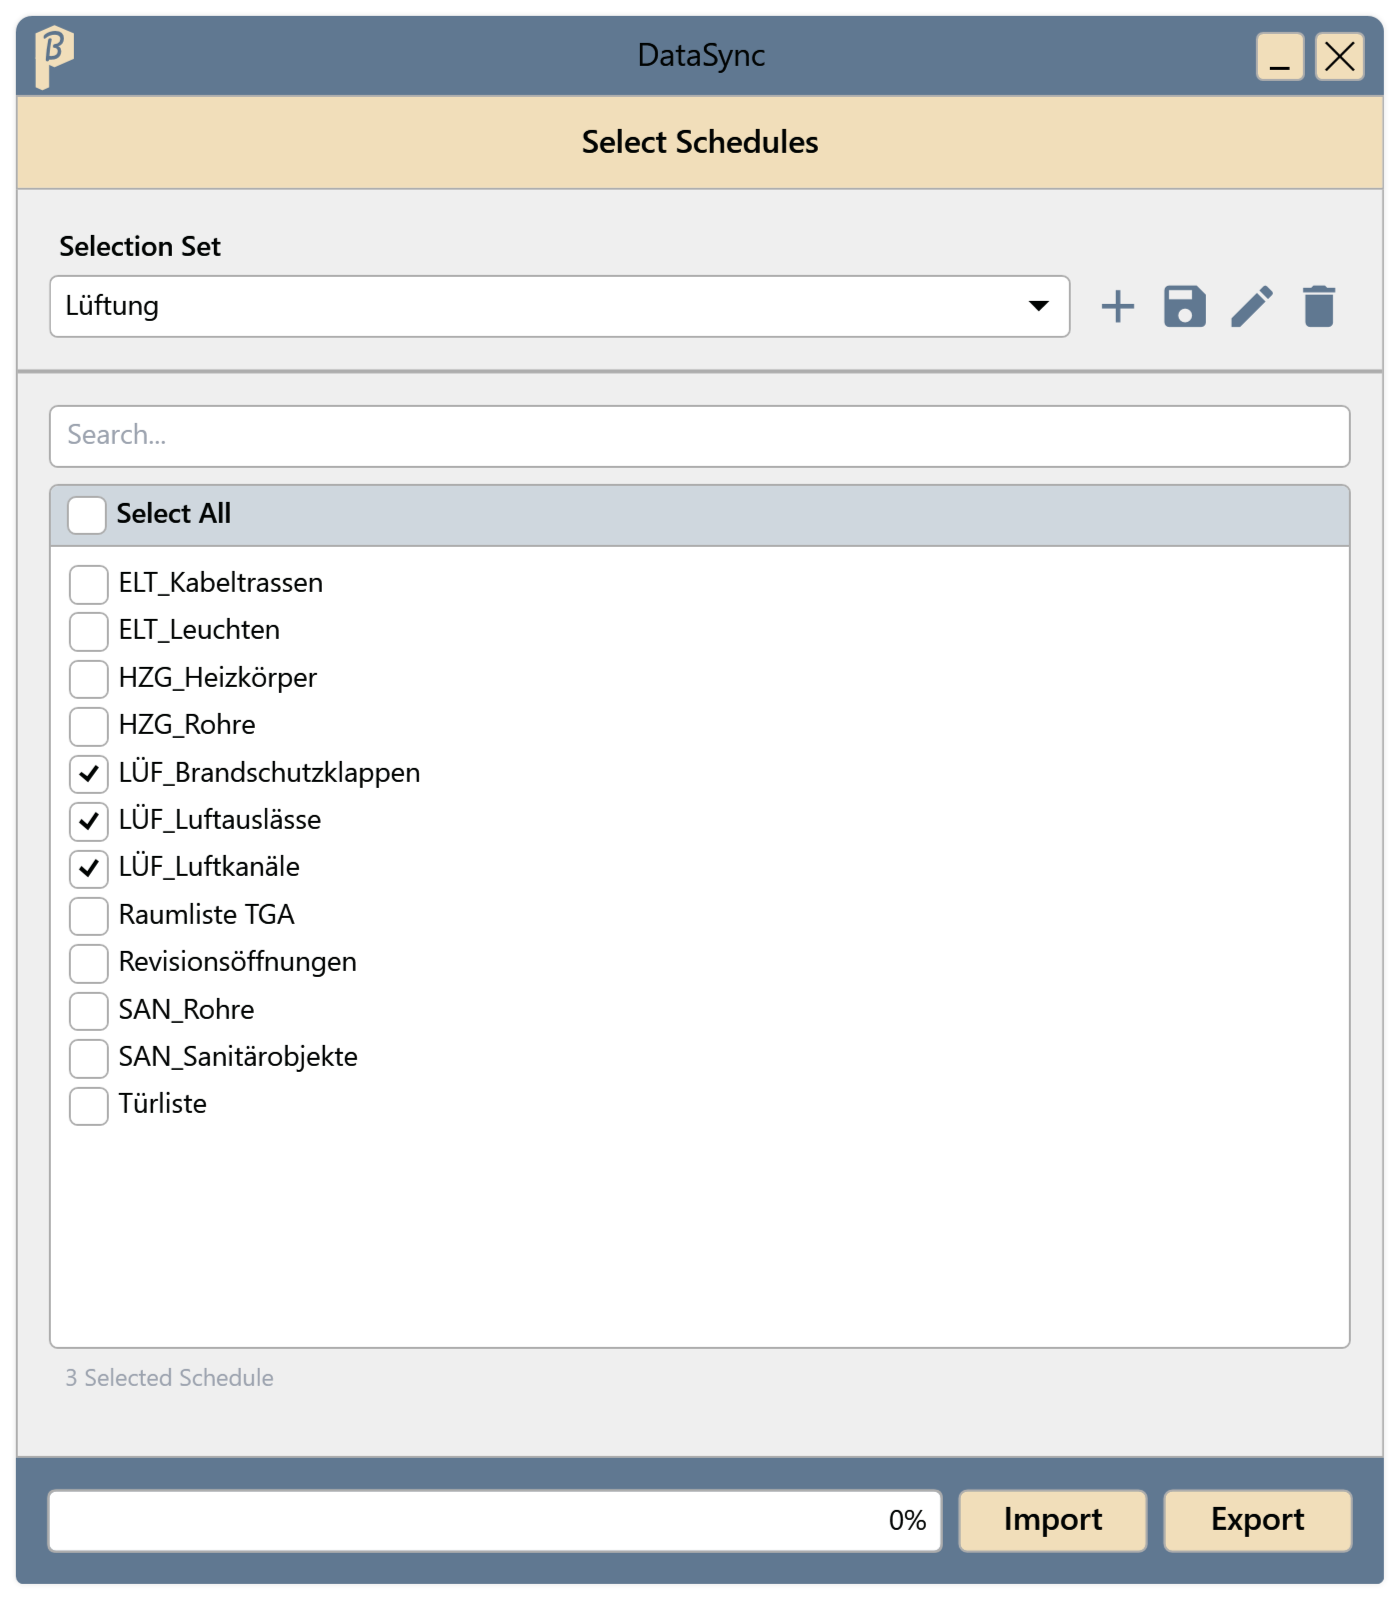
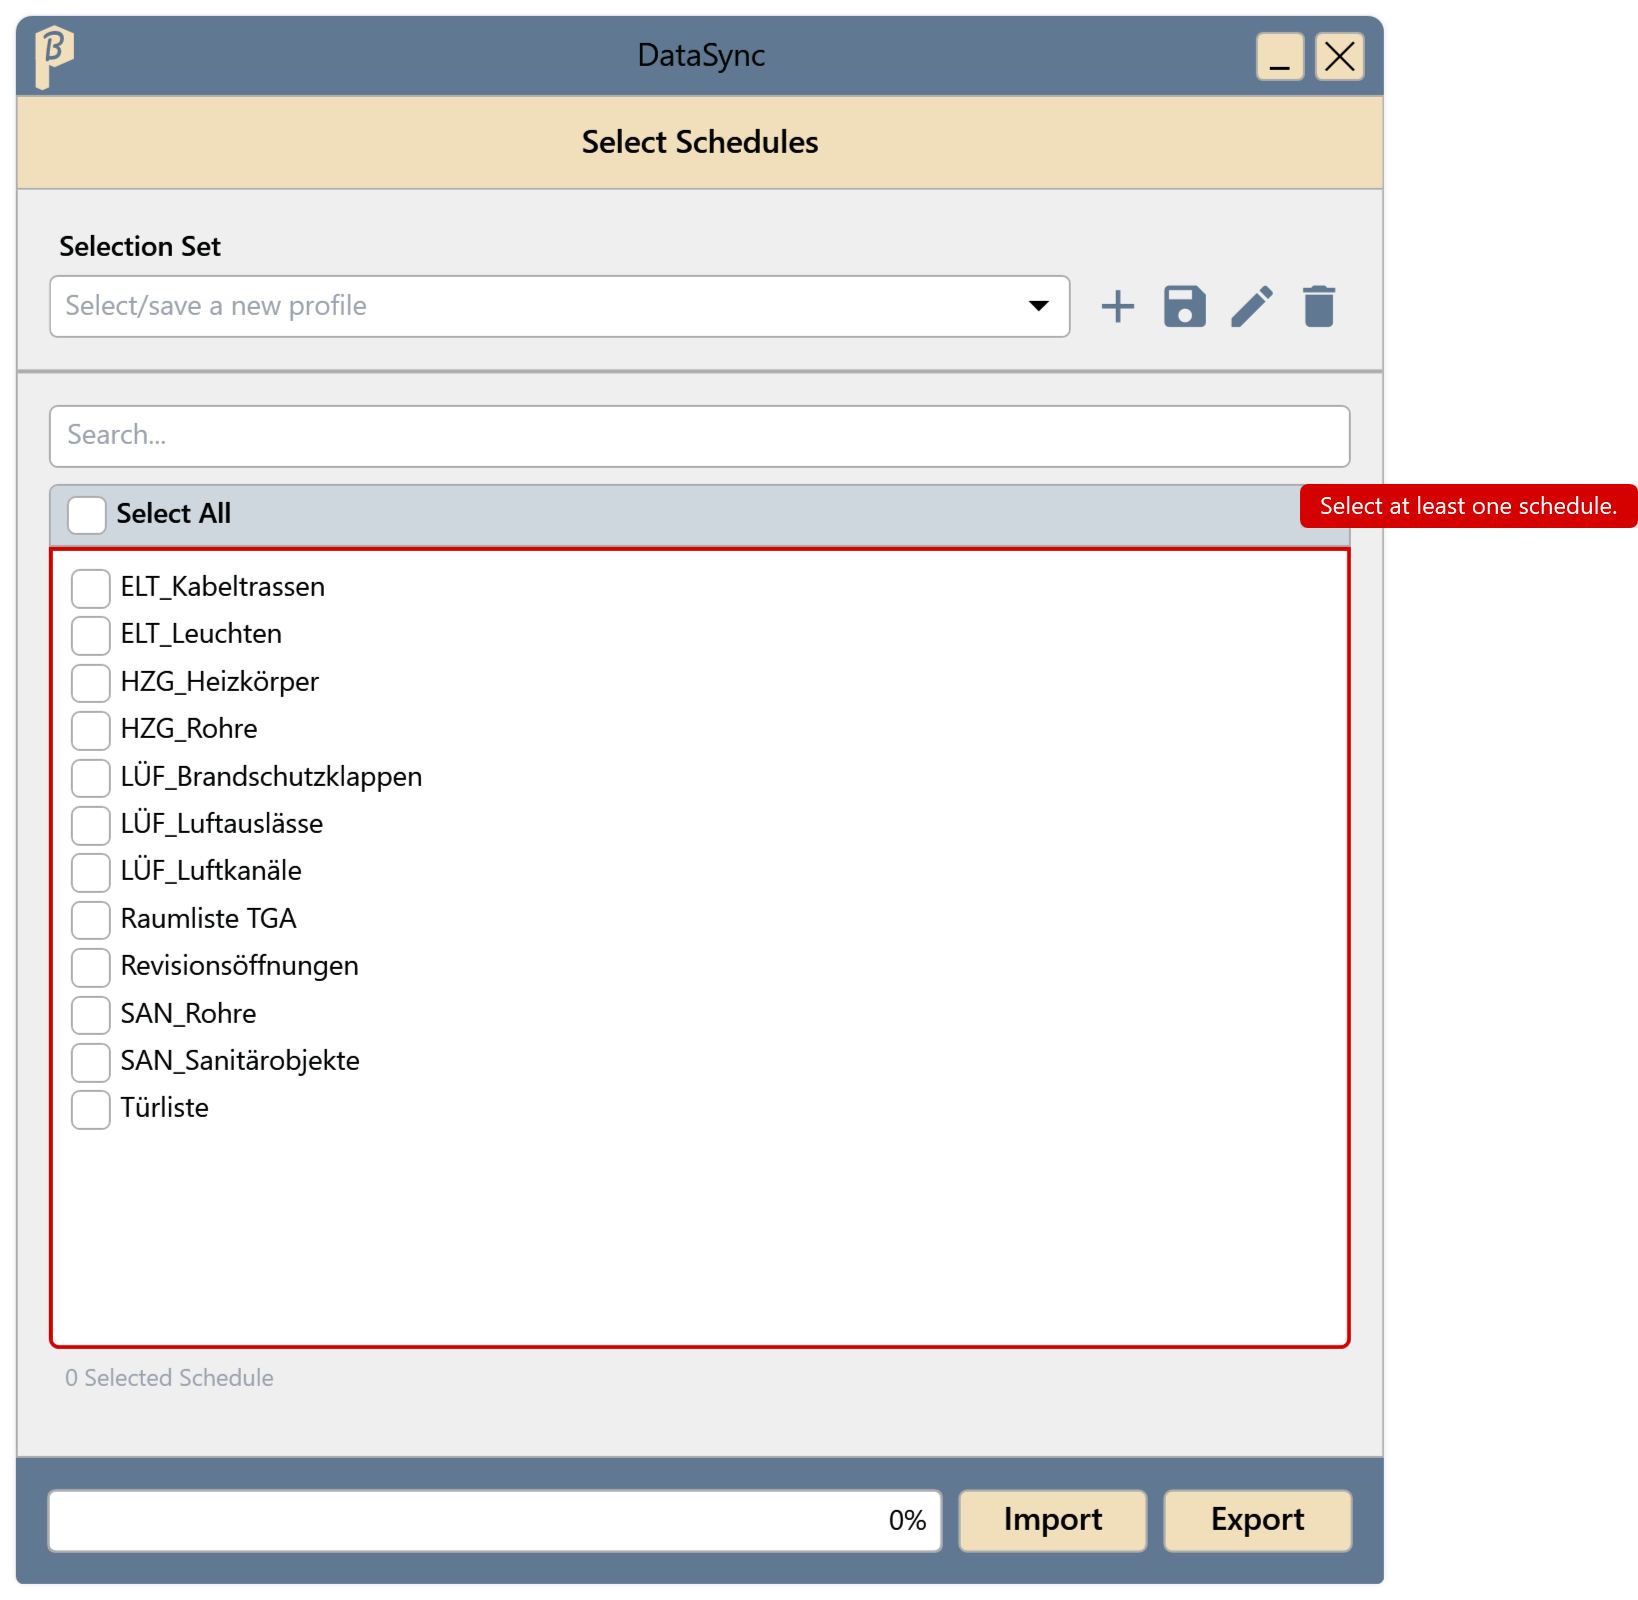
The list shows all schedules in the model, sorted alphabetically. The search box filters the list by name; Select All checks only the schedules shown. Checked schedules stay checked even when the filter hides them; the count below the list includes them.
DataSync only changes parameter values of existing elements. Importing does not create elements, schedules or parameters.
Export to Excel
In the ribbon, click PluBIM › Data › DataSync.
Under Select Schedules, check the schedules you need or choose a Selection Set.
Click Export. The Export Options window opens.
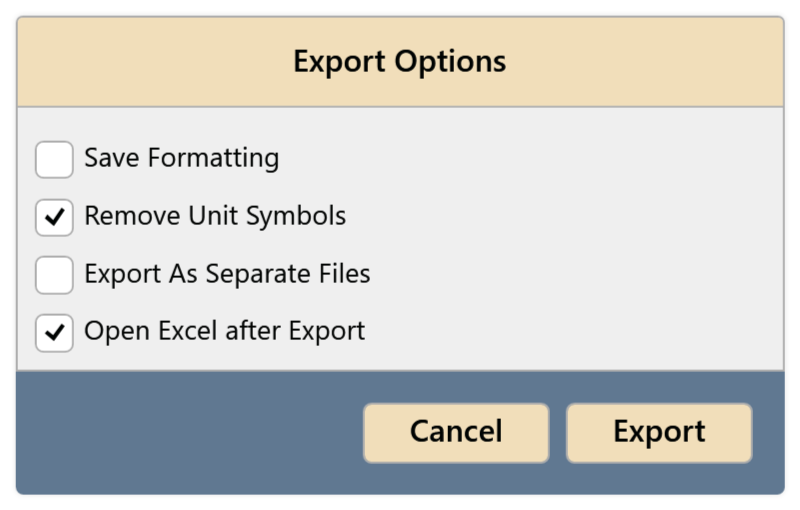
Fig. 2 · Export Options Choose options:
- Save Formatting: the Excel file looks like the schedule in Revit. It can not be imported again; the window points this out (Fig. 3).
- Remove Unit Symbols: Excel shows the numbers without a unit, e.g. “250” instead of “250 mm”. You do not need this for importing: even without this option the cell contains only the number; the unit is part of the number format.
- Export As Separate Files: one file per schedule. Only offered when several schedules are checked.
- Open Excel after Export, or Open Folder after Export for separate files.
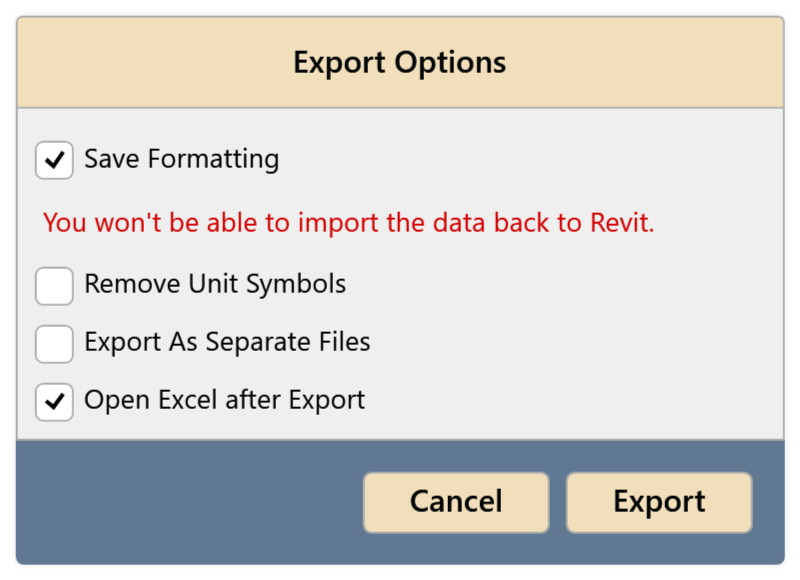
Fig. 3 · Save Formatting Click Export and choose where to save. The schedule name is suggested, or the model name for several schedules. For separate files, choose a folder; the files are named after the schedules.
The progress is shown at the bottom of the window.
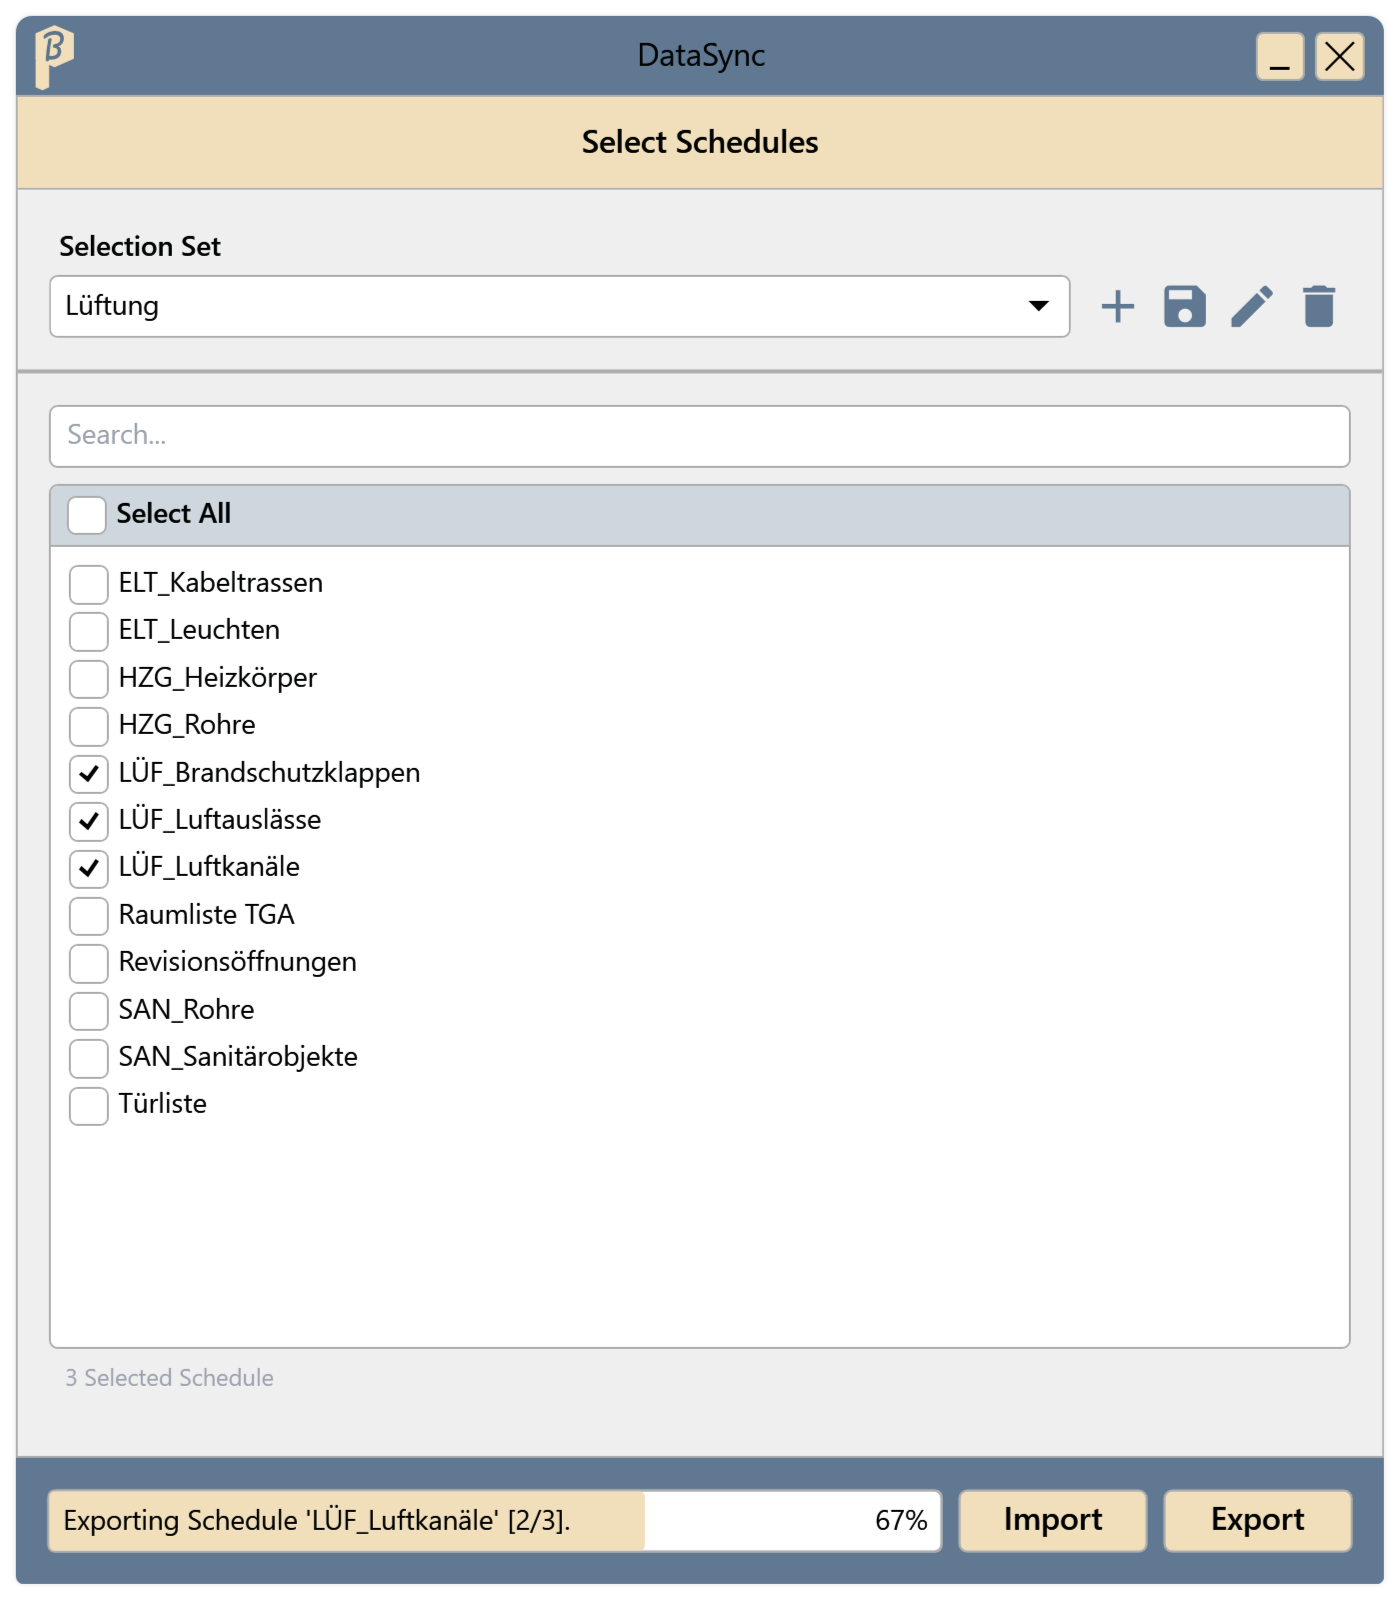
Fig. 4 · Export in progress
Want to bring the data back into Revit? Leave Save Formatting unchecked.
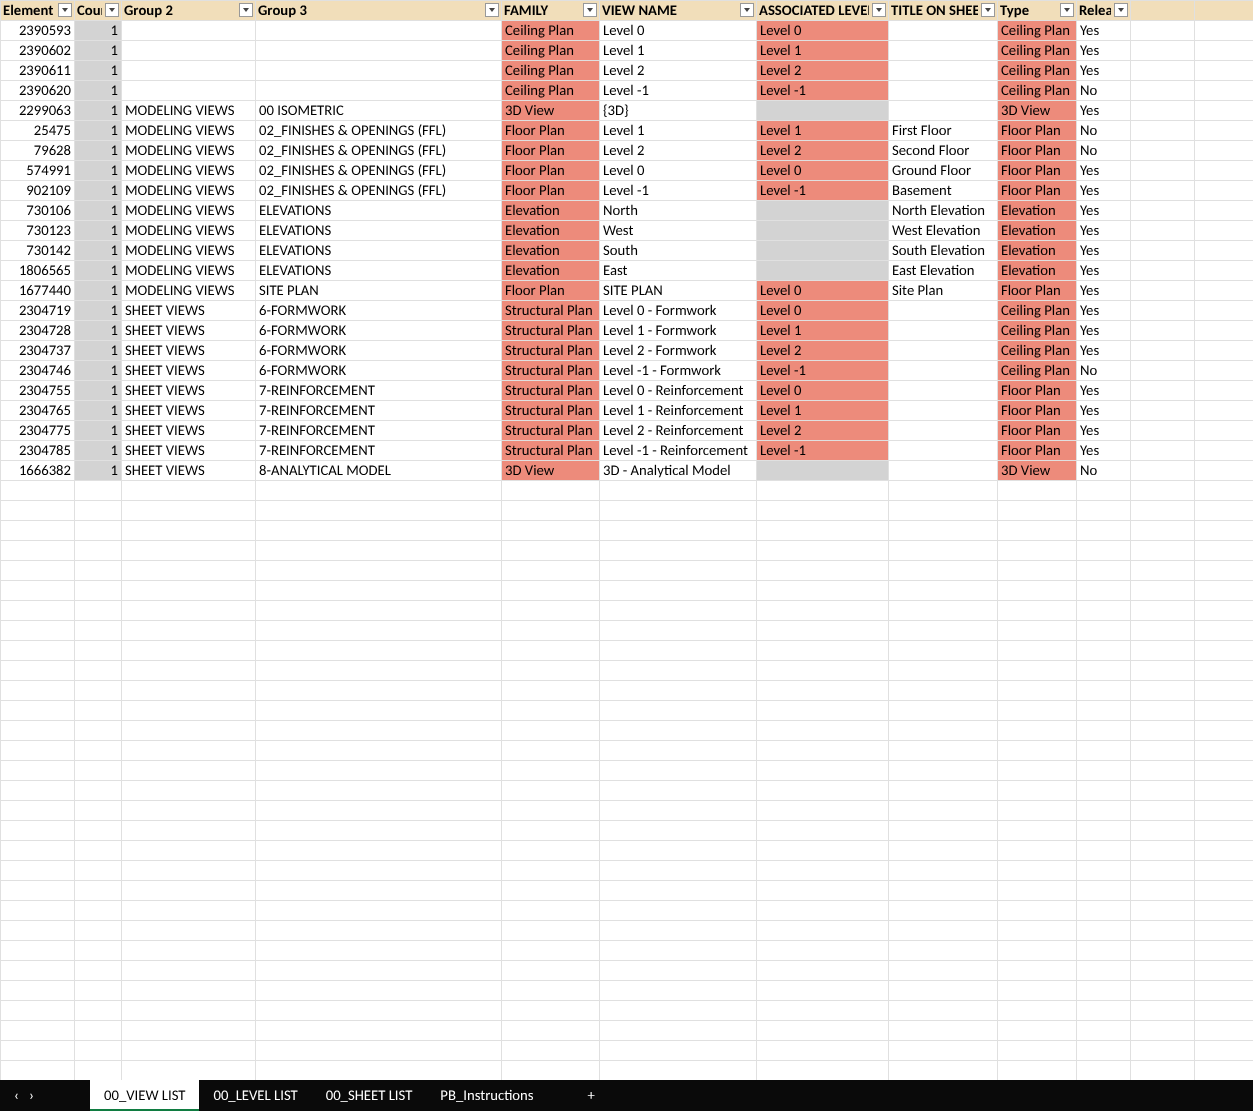
An Excel file with one worksheet per schedule. Without formatting, the PB_Instructions sheet is added; it explains the cell colors:
| Color | Meaning |
|---|---|
| Light blue | Locked, do not edit. Changed rows are skipped on import. |
| Yellow | Type Parameter |
| Red | Read only Parameter |
| Gray | Parameter does not exist for this element, or it is a Schedule Parameter |
White cells can be edited.
Pass on as a report
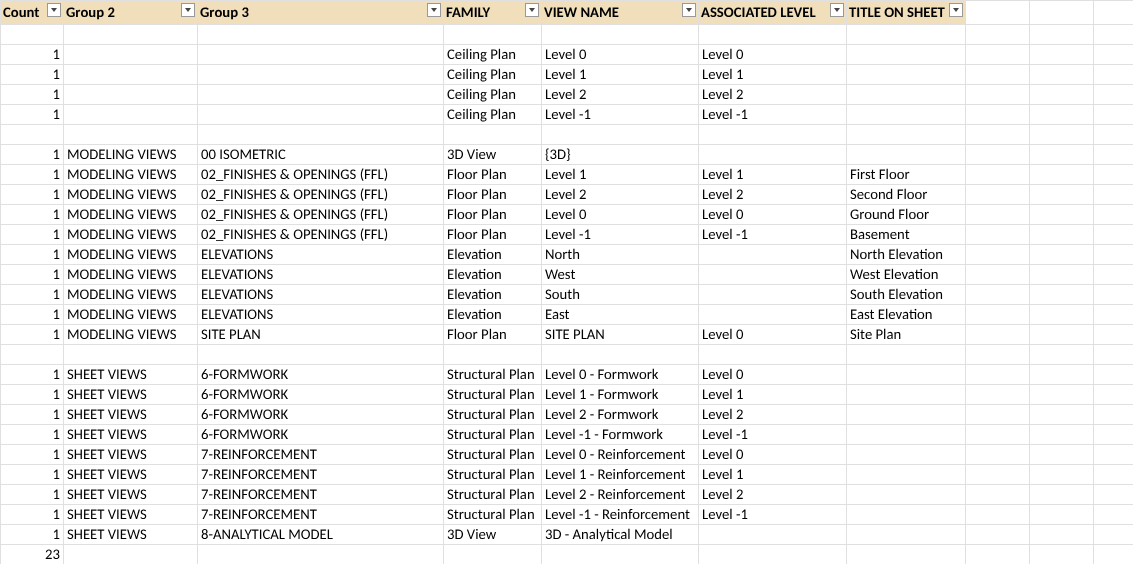
Is the Excel file only for viewing or passing on? Then check Save Formatting. The file looks like the schedule in Revit, with grouping and totals, but cannot be imported.
Import from Excel
Importing writes values directly into the model. Save or synchronize with central first.
Do not change the ID column at the start of each worksheet or the header rows. They connect each row to its element in Revit.
Change values in the Excel file, only in white and yellow cells.
Save and close the file.
In DataSync, click Import and choose the file. DataSync reads all worksheets except PB_Instructions.
The changed values are in the elements and in the schedules. DataSync writes only values that have changed. Rows it could not apply are shown in a list afterwards (see Skipped rows). The whole import can be undone in Revit with Undo in one step.
- Enter only the number, e.g. “300”. Excel shows the unit through the number format.
- Enter Yes/No parameters as Yes or No, easiest with the drop-down list in the cell. Ja and Nein from a German export are accepted too.
- A changed type parameter applies to all elements of that type. Enter the same value in all rows of the same type.
- An empty cell for numbers or Yes/No changes nothing. A cleared text cell clears the text in the element.
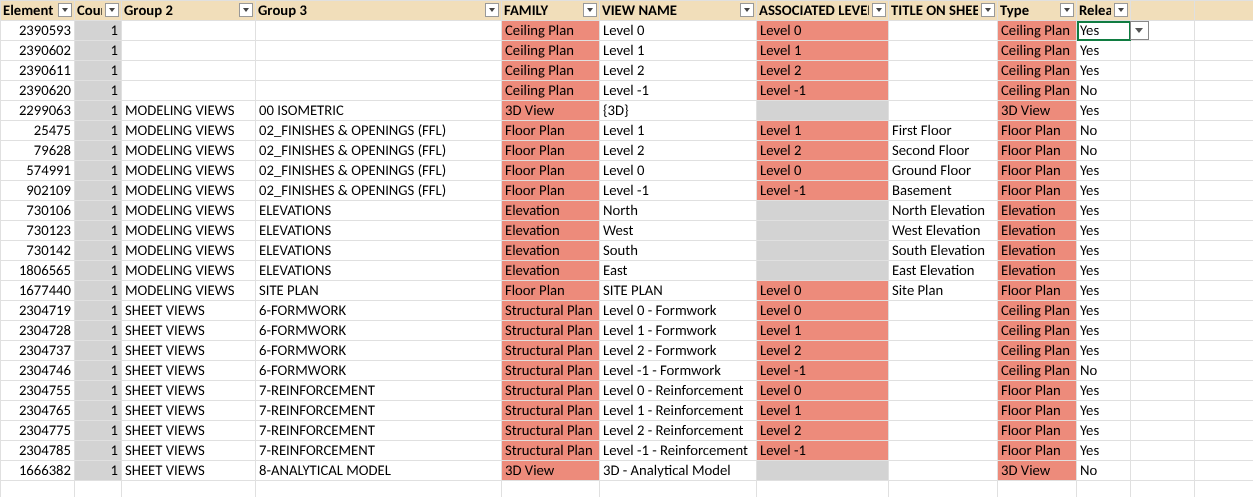
Before making many changes, change one value first, import and check it in Revit.
Skipped rows
If DataSync cannot apply some values, it still writes all the others. Afterwards DataSync shows the skipped rows in a list:
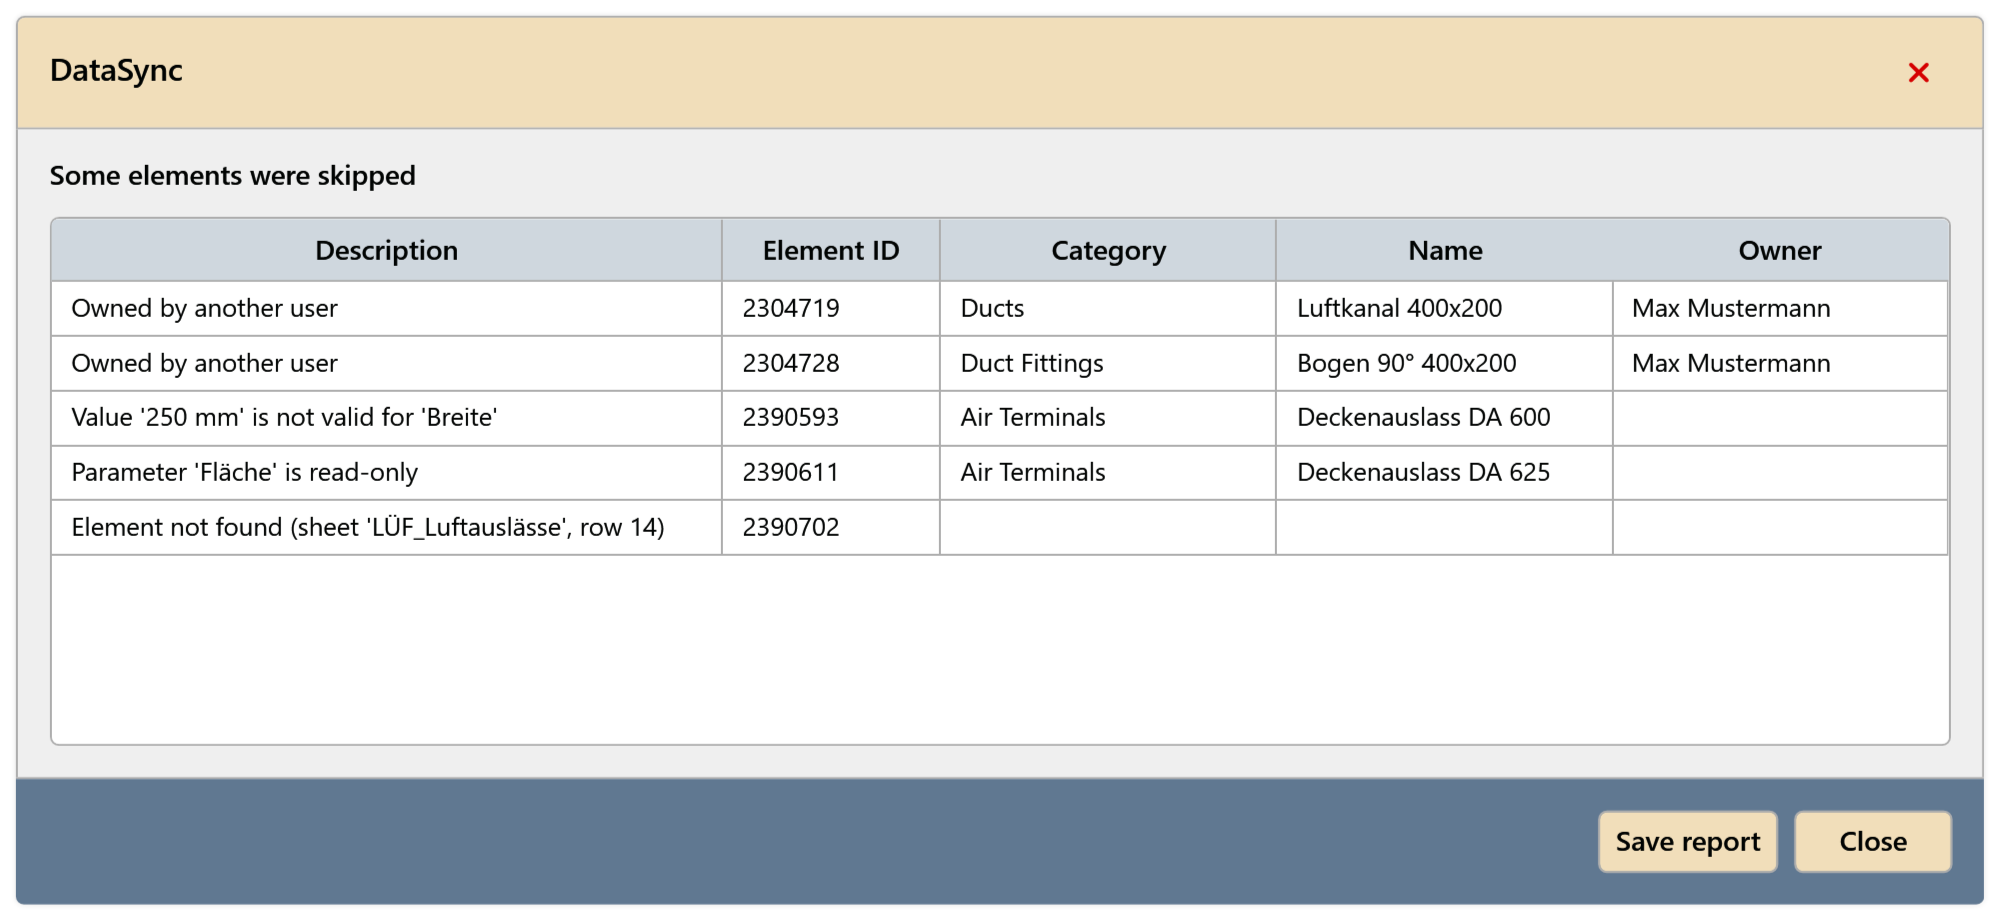
The Description column gives the reason, next to it are the Element ID, Category, Name and Owner of the element. Save report saves the list as an Excel file, e.g. to pass it on to the owners.
| Description | Meaning and fix |
|---|---|
| Owned by another user | In workshared models, DataSync only borrows elements whose values change. Have the element released and import again. |
| Not up to date with central | Synchronize with central and import again. |
| Value '…' is not valid for '…' | E.g. “250 mm” instead of “250” in a number column, or a Yes/No value that is neither Yes nor No. Correct the value. |
| Parameter '…' is read-only | The cell was red (see PB_Instructions); the value cannot be changed. |
| Parameter '…' not found | The cell was gray; the element does not have this parameter. |
| Element not found (sheet '…', row …) | The element has since been deleted, or the ID column was changed. |
| Workset '…' not found | Enter the name of an existing workset. |
Use selection sets
A selection set remembers which schedules are checked.
Check the schedules and click New set from selection (+) next to Selection Set. The set is first called “Set 1”, “Set 2” and so on.
Give it your own name with Rename set (pencil).
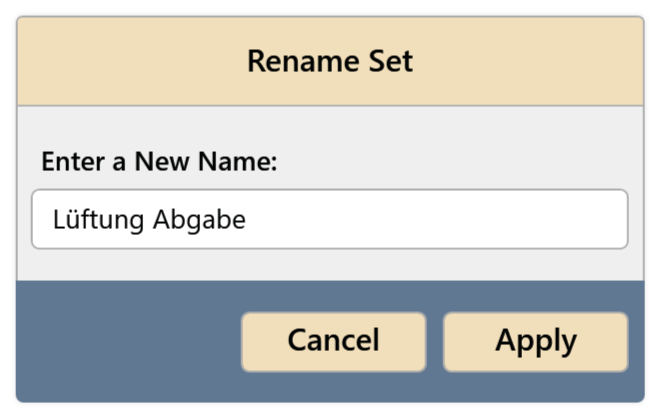
Fig. 9 · Rename set Later, choose the set in the list; its schedules are checked.
If you then change the selection, the set shows “(Adjusted, not saved)”. Keep the change with Save changes, or remove the set with Delete set.
Selection sets are saved when the window closes, per model and user.
Limitations
- Schedules with elements from linked models can only be exported with Save Formatting and therefore cannot be imported again.
- Empty schedules are skipped.
- Key schedules can be exported and imported.
- Read-only parameters and schedule parameters are not changed on import. Changed values in such cells appear in the Skipped rows list.
Common problems
“Select at least one schedule.”
Export was clicked without a checked schedule. Check at least one schedule.
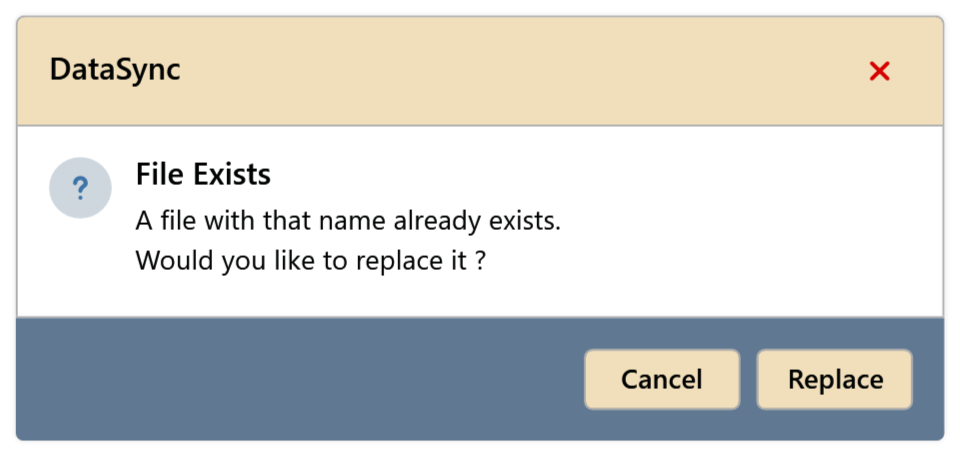
“File Exists”
A file with this name already exists at the chosen location. Replace overwrites it; Cancel returns to choosing the location.
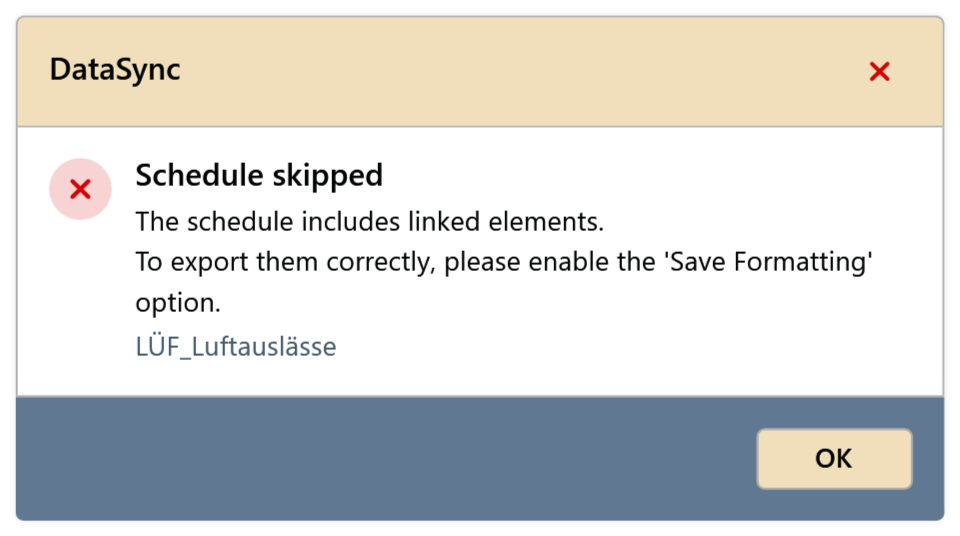
“Schedule skipped”: “The schedule includes linked elements.”
The schedule also shows elements from linked models. Export with Save Formatting; the file then cannot be imported.
Number values were not applied
The cell contains text instead of a number, e.g. “250 mm” typed by hand. After the import, such values appear in the Skipped rows list as “Value '250 mm' is not valid for '…'”. Enter only the number and import again.
Some values are missing after the import
The reason is in the Skipped rows list, e.g. “Owned by another user”, “Parameter '…' is read-only” (red cell) or “Element not found” (element deleted in the meantime).
“Central model is busy”
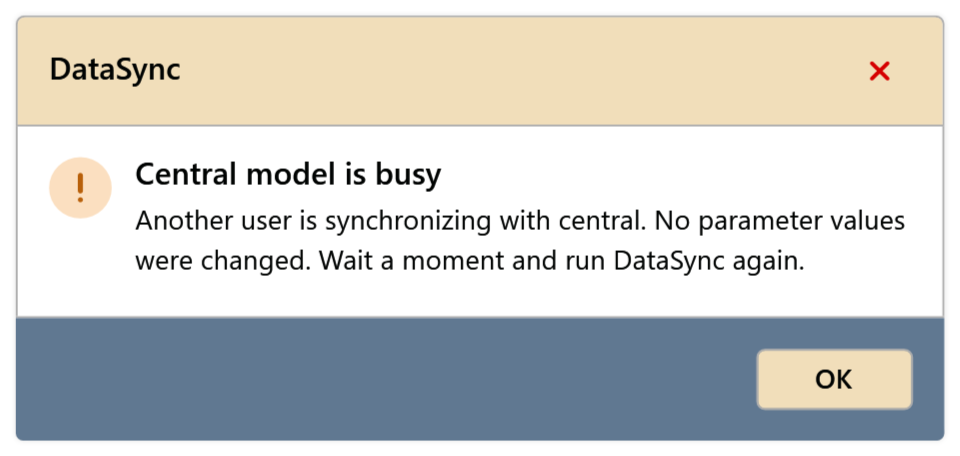
Another user is synchronizing with central. The import changed nothing. Wait a moment and import again.