 PluBIM Help

FlowTags
Tag risers and flow directions on pipes and ducts.
- Ribbon group
- Output
- Version
- PluBIM 1.5.0
FlowTags annotates pipes and ducts in the active floor plan: vertical risers with a riser arrow, horizontal and sloped runs with a flow-direction arrow. The annotations stay attached to the runs. When you run it again, FlowTags corrects existing arrows and removes those that no longer apply.
When to use it
| You want to … | How |
|---|---|
| Show in a floor plan where a riser starts, passes through or ends | Tag risers |
| Show the flow direction in domestic water, drainage, heating, sprinkler or ventilation networks | Tag flow directions |
| Annotate a network without a recognizable source | Select the source during the run |
| Bring annotations up to date after changes to the network | Run FlowTags again |
Requirements
- A floor plan with an associated level is the active view.
- The tag families are loaded: MP_400_Steigpfeil for risers, MP_400_BES_Fließrichtung for pipes and MP_430_BES_Fließrichtung for ducts.
- The runs are connected to each other and assigned to a system.
How systems are handled
FlowTags uses a run's System type to tell which way it flows.
| Kind of system | Examples | Flow direction |
|---|---|---|
| Supply | Domestic cold and hot water, heating supply, supply air, sprinkler and fire water | away from the source, e.g. from the building connection, boiler or air handling unit |
| Collecting | Sanitary, heating return, return air, exhaust air | toward the end, e.g. toward the drain connection or air handling unit |
| Rainwater | System type with “Regen”, “Rain”, “Storm” or “Niederschlag” in its name | like collecting systems, from the roof drain downward |
| Drainage vent | System classification Vent | upward to the outside; riser arrows of type SW_BEL |
A network's source is usually a device or a connection at the end of the network. If FlowTags finds none for a system, it asks: see Select the source.
Tag risers
In the ribbon, click PluBIM › Output › FlowTags. The FlowTags window stays open next to Revit.
At the top, choose Risers.
Click Select in model and select the vertical risers, then click Finish in Revit. Only vertical pipes and ducts can be selected. Clear selection empties the selection.
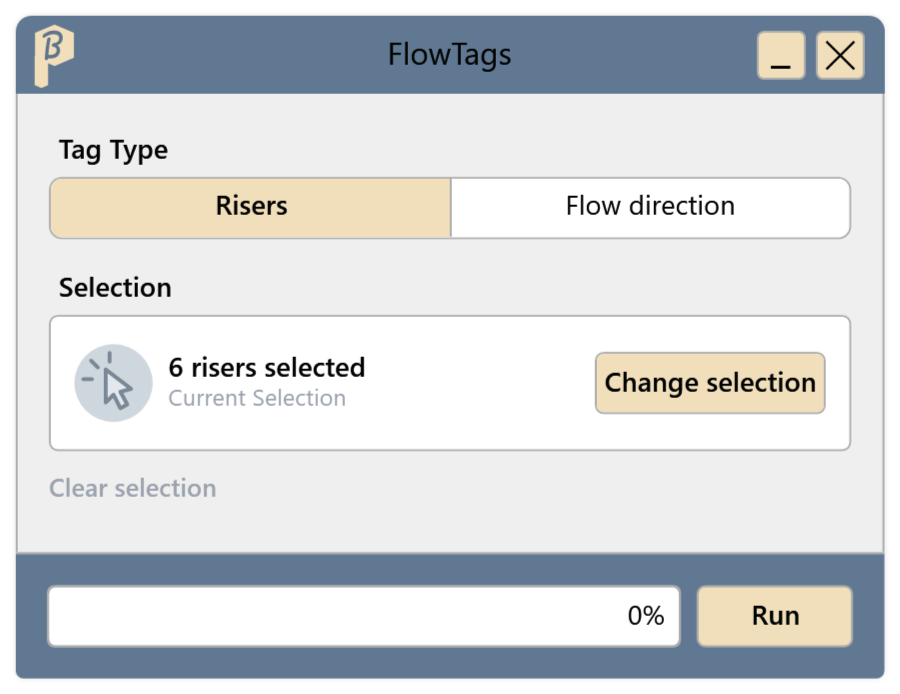
Fig. 1 · FlowTags in Risers mode Click Run.
If a riser is inside a plan region, FlowTags asks which level the plan region represents. Choose the matching level and click Use level.
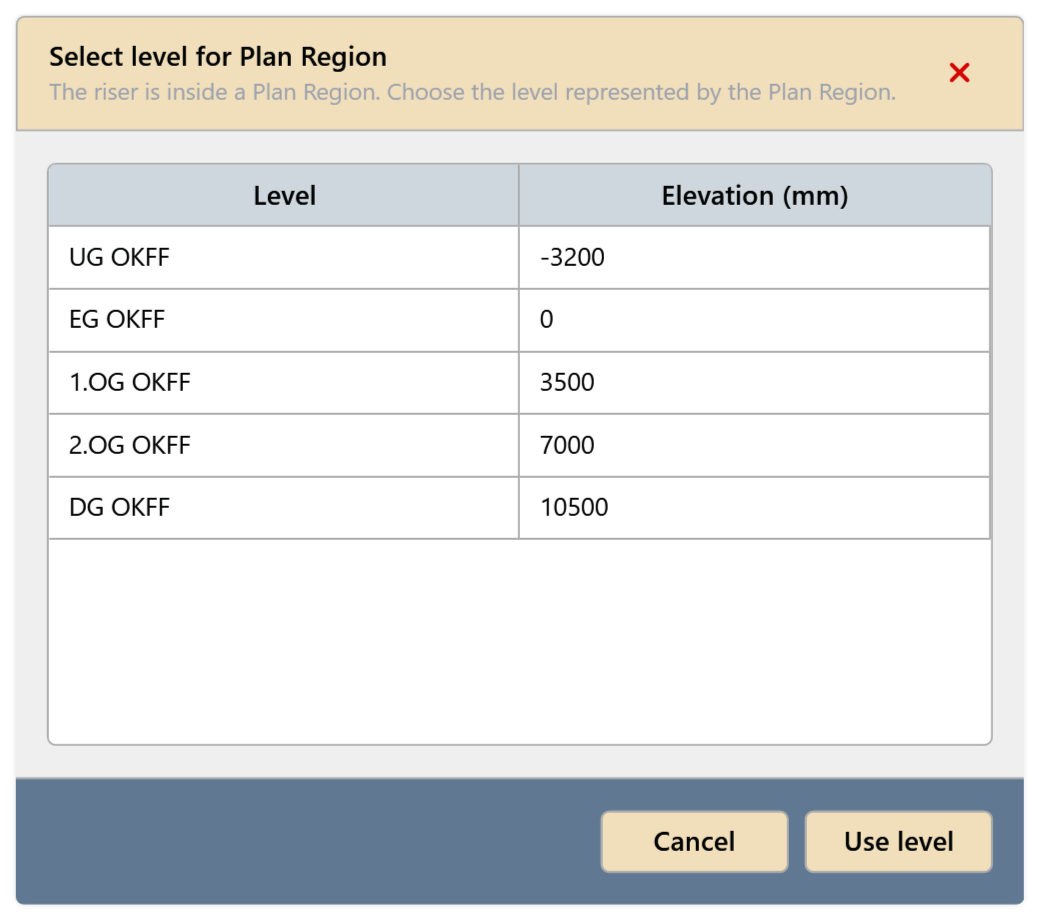
Fig. 2 · Select level for Plan Region
Each riser has a riser arrow showing what it does on this level: start up or down (Anfang nach Oben, nach Unten), pass through up or down (nach Oben, nach Unten Durchgehend), or end from above or below (von Oben, von Unten Ende). These are the type names in the tag family. The summary says how many annotations were created, corrected or removed.
Tag flow directions
In the FlowTags window, choose Flow direction at the top.
Click Select in model and select one pipe or duct segment per network, then click Finish. FlowTags follows the network from there.
Under Flow source, set where the flow starts:
- Automatic: FlowTags determines the source from the system.
- Manual: choose Starting Point and click the pipe or duct where the flow starts.
Optionally set Min. length: shorter segments get no arrow.
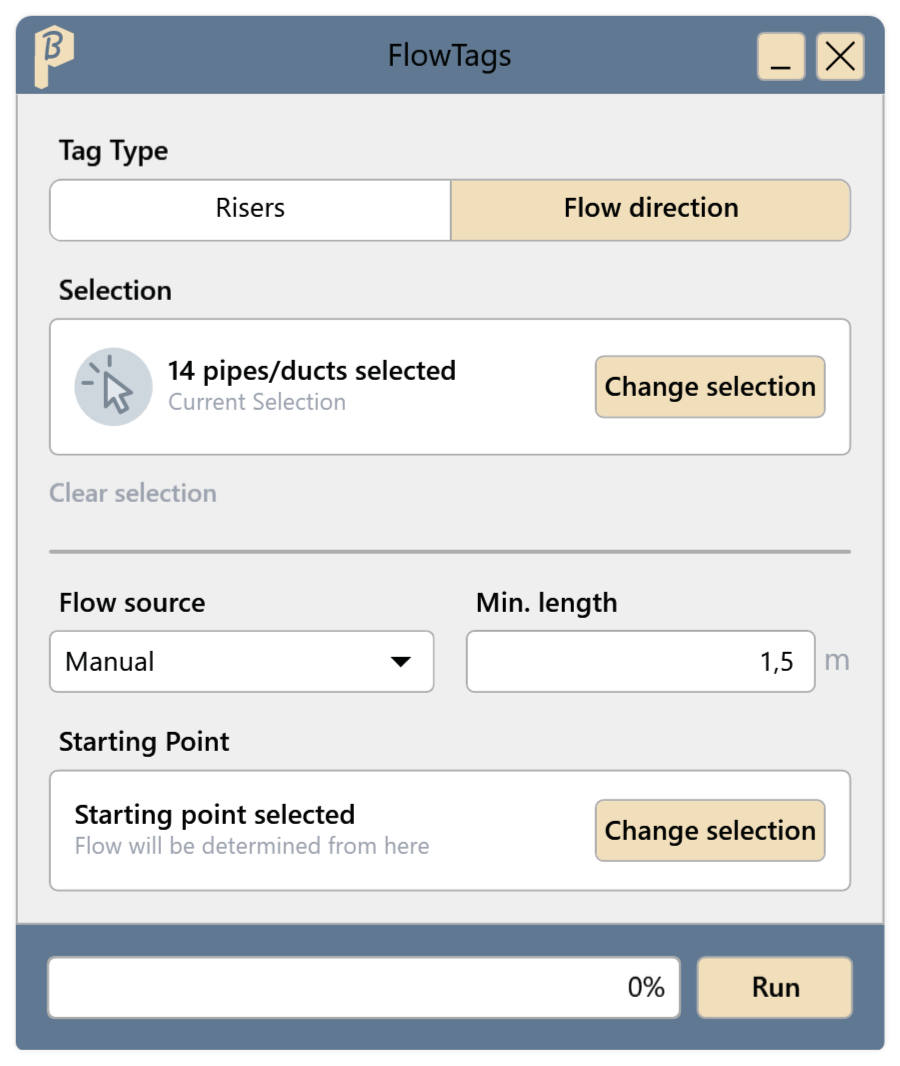
Fig. 3 · FlowTags in Flow direction mode Click Run. The progress shows “Analyzing network...”, “Resolving flow source...” and “Placing annotations...”.
Each segment from the minimum length upward has an arrow in the flow direction. Pipes with a slope get the type Fließrichtung+Gefälle, all others Fließrichtung.
Select the source
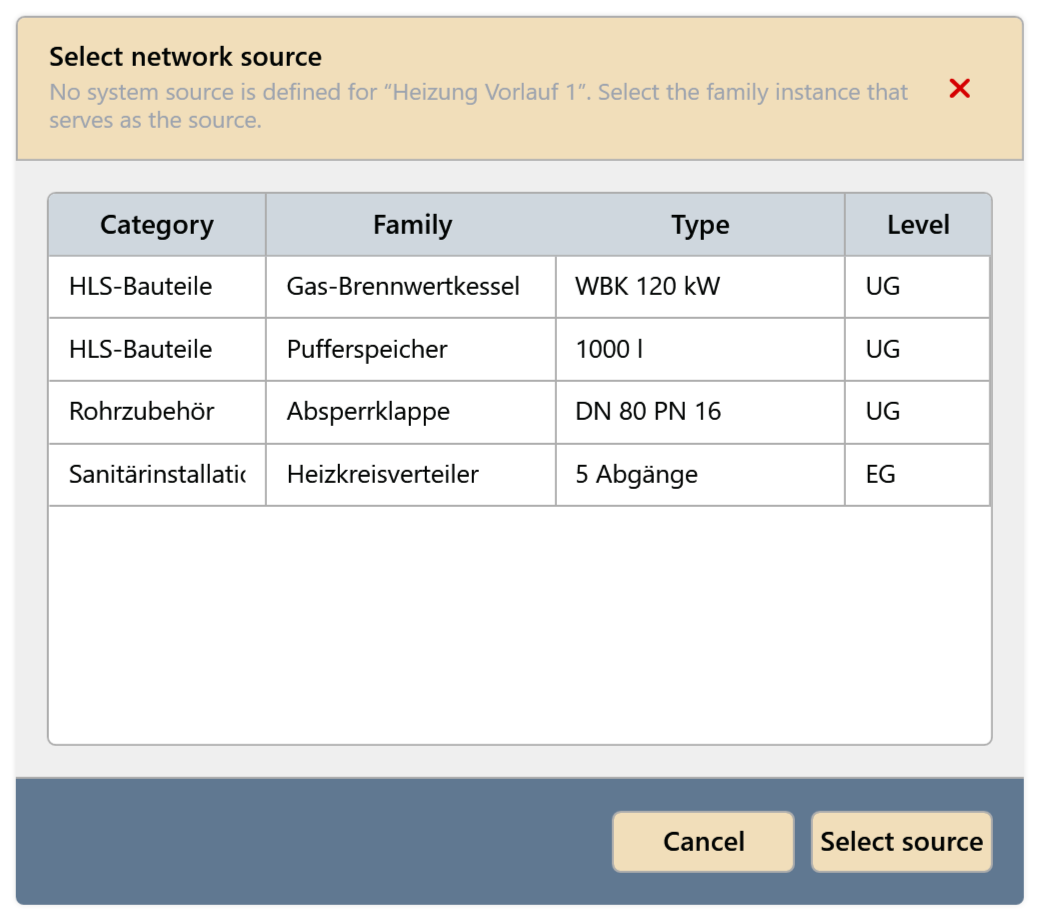
If the source is set to Automatic and a system has no recognizable source, the Select network source dialog opens during the run: “No system source is defined for “…”. Select the family instance that serves as the source.” Choose the family that feeds the network or where it ends, e.g. the air handling unit, and click Select source.
Run again
FlowTags remembers which annotations it created. Each run adds missing ones, corrects wrong ones and removes those that no longer apply. If everything is already correct, it reports “Nothing to do - everything is already up to date.” Annotations placed by hand are left alone.
Common problems
“… annotations need checking - they are selected in the model.”
The result was not clear for these places. Look at the selected annotations in Revit and correct them by hand if needed.
“The flow direction of … pipe(s) could not be determined”
Nothing was created for these pipes. Run FlowTags again with Flow source › Manual and choose the starting point.
“The network is interrupted in … place(s)”
Nothing beyond the interruption was annotated; the affected pipes are selected. Connect the runs in Revit and run again.
“Required annotation family … is not loaded …”
Load the named family from the shared family library and run again.
Nothing happens or the run fails
The active view must be a floor plan with an associated level. FlowTags does not annotate in sections, 3D views or sheets.